Kettlestack assembly is as simple as bolting a handle onto a stack of weights (cartoon on right of "wings" surrounding a core), but we'd ask that you read the following so you understand how to
- choose the plate setups
- tweak the shapes
- use the one-bolt or two-bolt setup

Even though most kettlebell motions are functional whole body moves that avoid the need for repeated, small adjustments (Click HERE for our video!!), the Kettlestack's exclusive, two-phase assembly and quickchange feature conveniently provides a wide range of weights .
STEPS: (refer to animation below)..
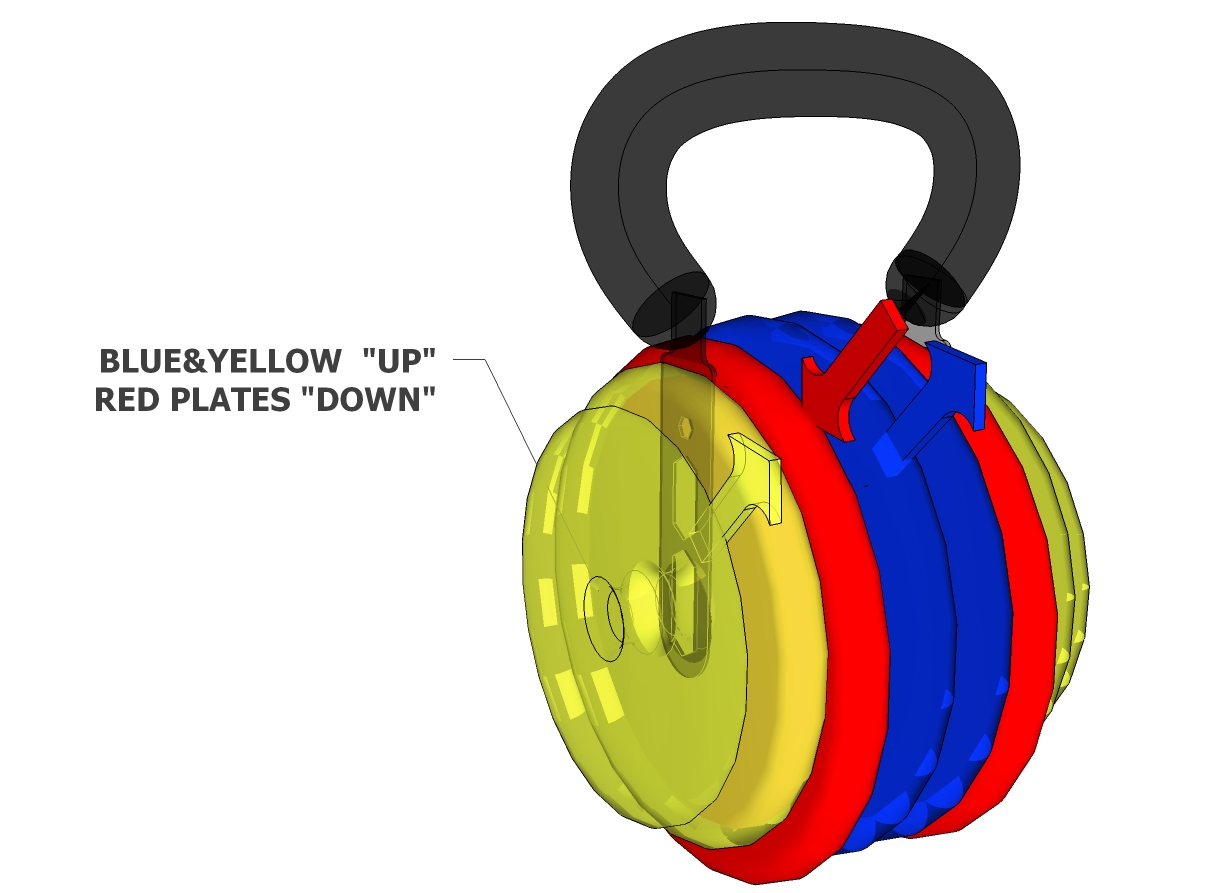
- divide your plate set into the left,center and right groups/wings. You always need a center group. left and right groups are optional.
- slide the support bands over the center plate group (about 3.5"to 4.25" in width)
- slide axle through the arms and the core. The hexaxle flange is now just outside left support band.
- slide the right bolt (and washer) through the right plate group and tighten the bolt into hexaxle.
- if you're using a 2bolt setup, slide the left bolt (and washer) through the left plate group and tighten the bolt into hexaxle from the left side.
Kettlestack Assembly Sequence
The major points on Kettlestack assembly include:
- deciding which weight to setup-Start with a weight you can curl- you can change it later.
- deciding on one-bolt or two-bolt setups.
- setting the correct core width and taper
- getting a nice shape. Shape flexibility is a basic part of the Kettlestack design. Our front page isn't staged or contrived but , we can't assemble your Kettlestack for you, so please follow the instructions (email us if you get stuck) and you'll have a nice, round Kettlestack that's functionally equivalent to a cast KB for almost all the moves .
 One/Two Bolts ? The kettlestack axle allows you to build either one-bolt(narrow) or two-bolt (wide) setups. You can see (right) that at a stack width of between 6" and 7" you have the option of going either way. A good Kettlestack shape (somewhere between a sphere and rugby football) is going to be at least as wide as it is tall- you shouldn't use a pair of 10's to make a 20lb Kstack. The simpler one-bolt is for the narrower,lighter setups below 35 lbs, while the more flexible two-bolt is required (a safe amount of bolt overlap) for heavier stacks over 40lbs or 7" in width.
For shape tweaking the bottom line is to FILL IN THE GAP between the outside plates and the inner stack so the forearm sees a smooth transition.if your kettlestack doesn't end up looking "something" like our front page picture, please consider getting in touch and we will help you get the most out of your purchase. 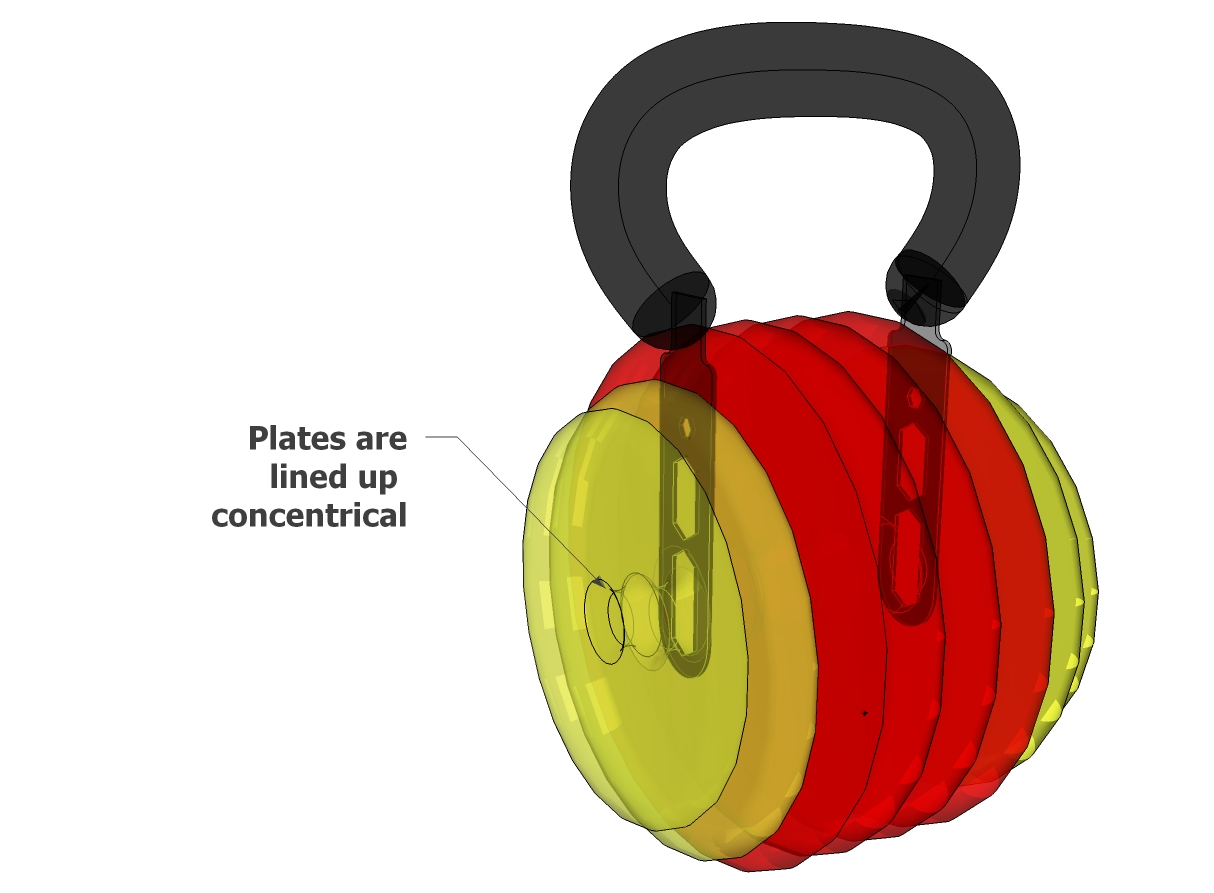
 These tweaking steps are actually easier to do than to describe; In fact, they're automatic if you use a 6" bowl you can get at the hardware store for $3 ....
  and follow the steps in this video http://www.kettlestack.com/assembly/easy_assembly_video